Contributing
Contributions are always welcome for FlowFuse Dashboard. We have a lot of great ideas we want to get built, and we'd love to have your help!
Project Structure
/nodes
Contains the files that define each of the Node-RED nodes that make up the FlowFuse Dashboard node set. You can read more about writing nodes for Node-RED here.
/ui
Contains our VueJS app that forms the core of FlowFuse Dashboard. Inside /ui/src/widgets, you will find a set of subdirectories, each containing a .vue file. It is these files that define the appearance and functionality a users sees when viewing the Dashboard.
/docs
A VitePress documentation site that is used to generate the documentation for FlowFuse Dashboard (what you're reading now).
Installing Locally
Pre-requisites
- GitHub Account - You will need a GitHub account in order to make a copy of the code and contribute any changes.
- Node.js - Node.js will also come packaged with the Node Package Manager (
npm) which is used to install dependencies, and run the Dashboard (and Node-RED) locally. - Git - Git is used to clone the repository locally to your machine, and permits you to push changes back to the central repository on GitHub.
Clone & Build the Repository
Logon to Appropriate Machine: Logon to the machine where you have installed Node-RED.
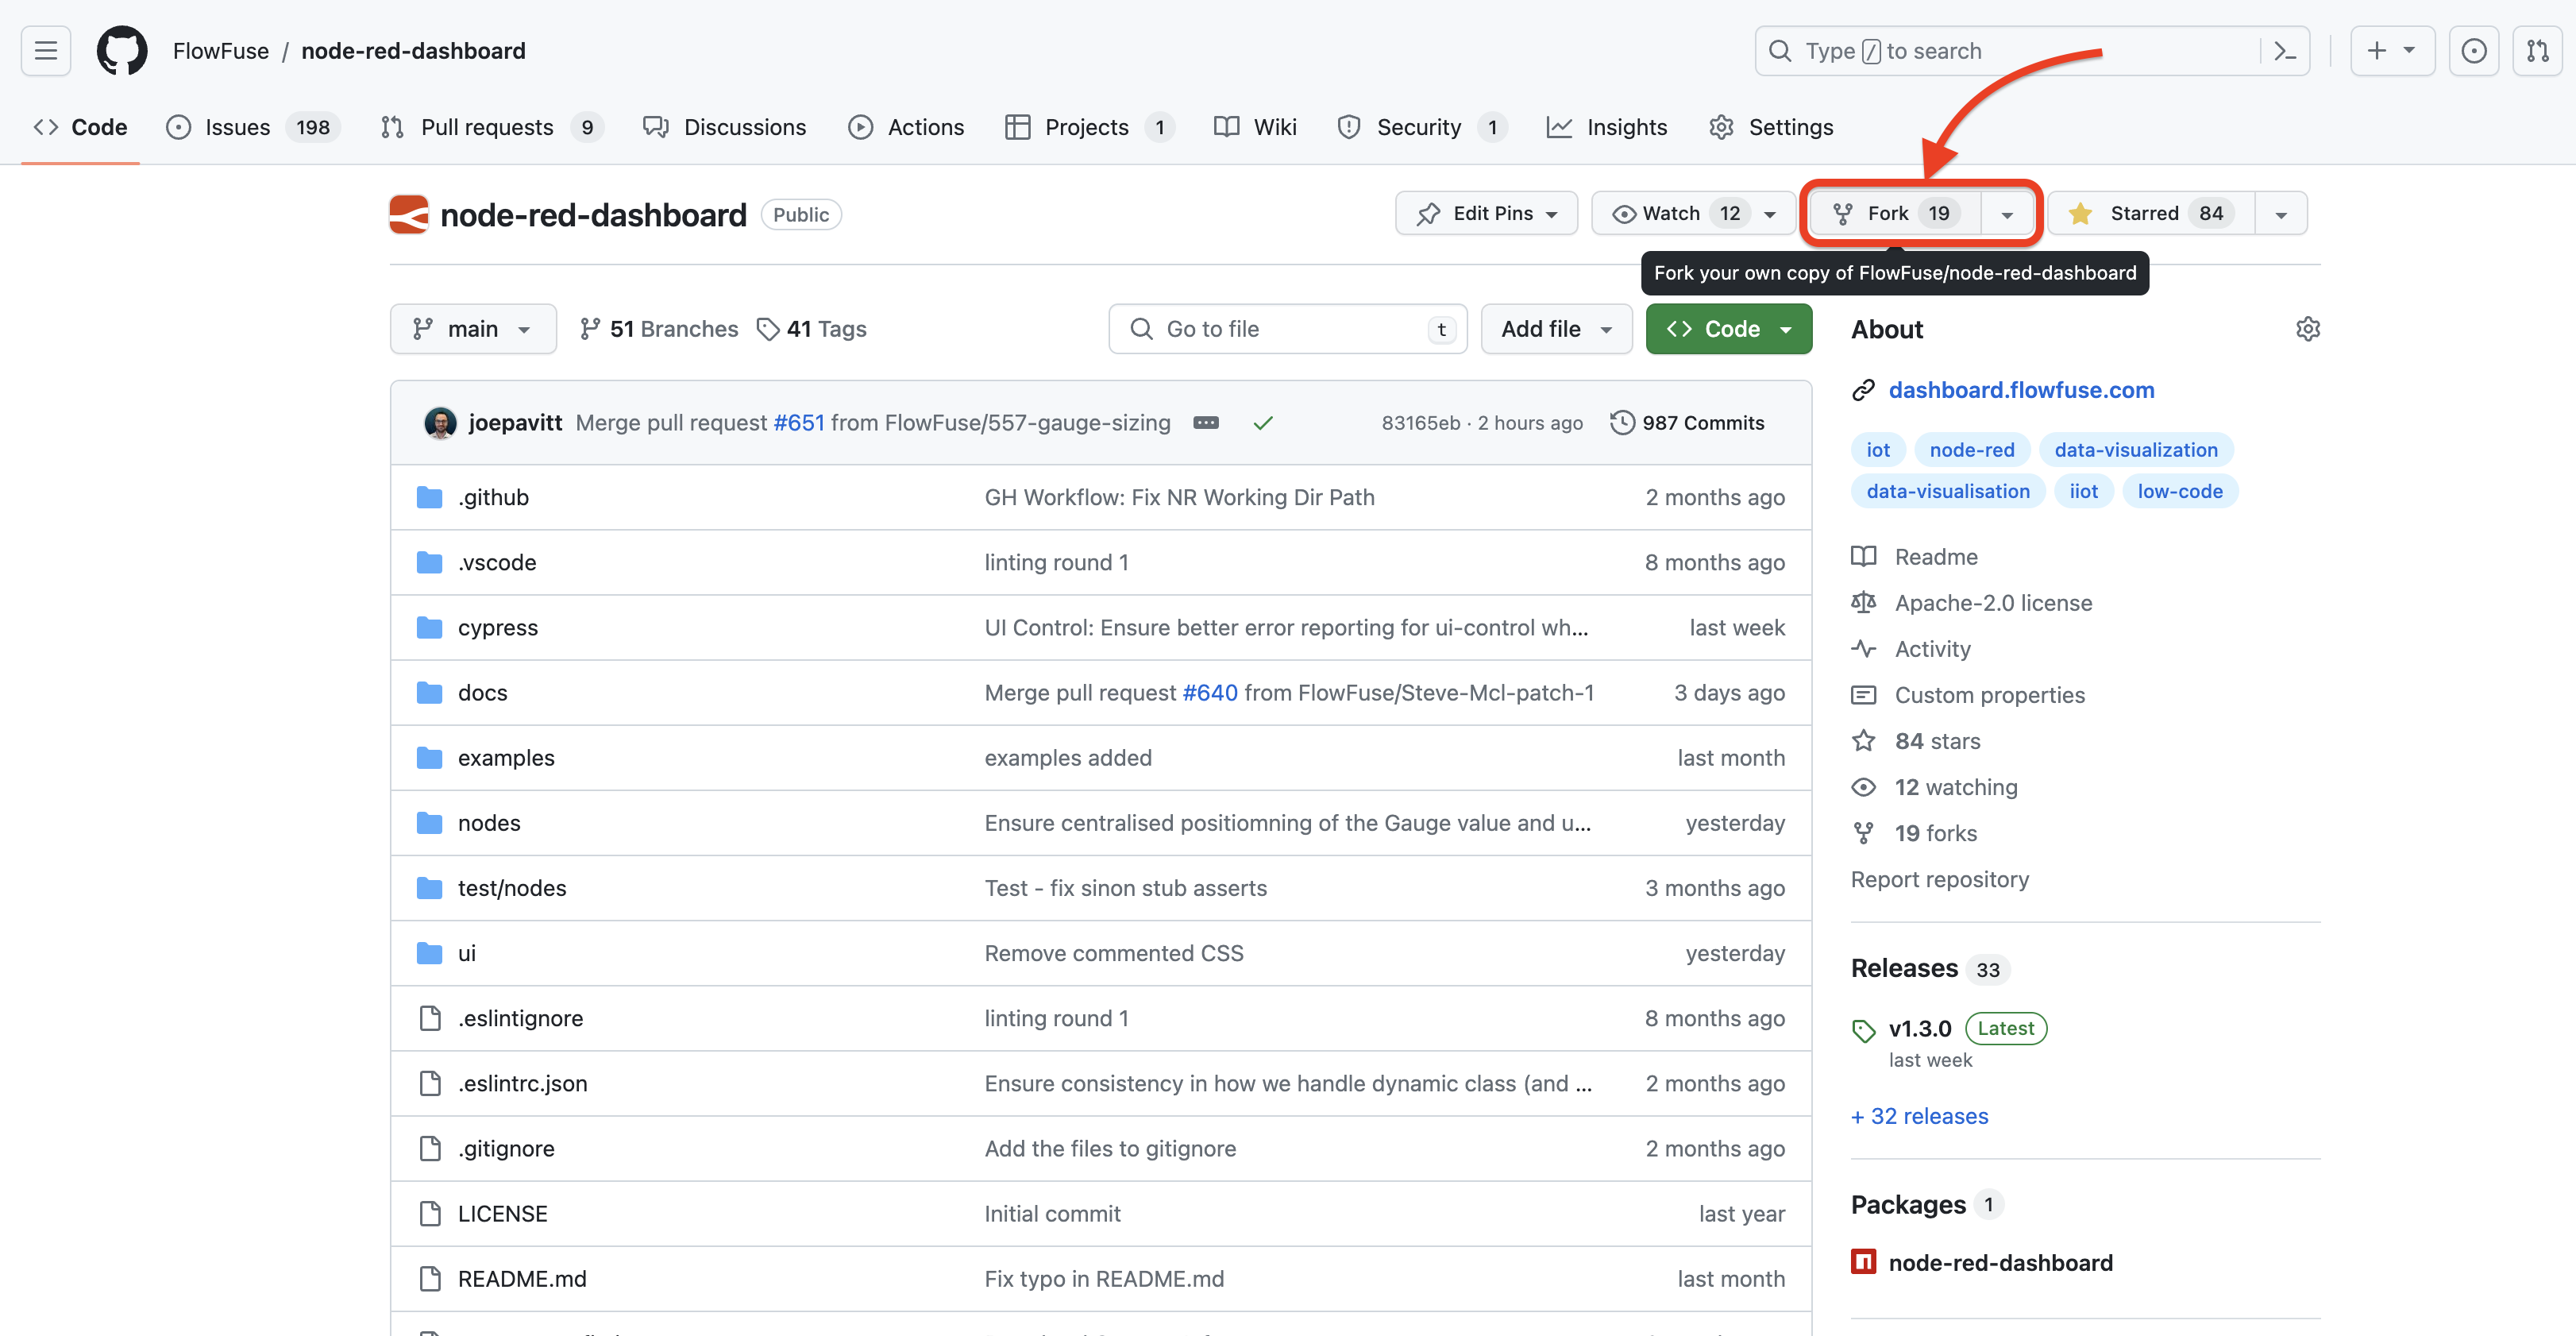
Fork Repository: Fork this repository to your own Github account:
Clone Git Repo: Clone the forked repository from your Github account. This can be anywhere appropriate on your machine (e.g.
/yourname/development/):bashgit clone https://github.com/<your_github_account>/node-red-dashboard.gitInstall Dependencies: From inside your cloned directory, install all dependent packages (from the
package.jsonfile):bashcd /node-red-dashboard npm installOptionally generate a source map (to map the minified dashboard code to the original code), to simplify debugging of the frontend dashboard code in the browser. On Linux this can be achieved by:
bashexport NODE_ENV=developmentBuild Dashboard: Create a static build of the Dashboard's UI, based on Vue CLI (which has been installed in step 3):
bashnpm run buildAlternatively, use
npm run build:devto build a developer version or usenpm run devto build a developer version and watch for changes (hot reload)
Install into Node-RED
Navigate to
.node-red: In a terminal, navigate to your.node-redfolder (normally at~/.node-red).bashcd ~/.node-redRemove existing FlowFuse Dashboard: Note - if you have already installed this dashboard via your palette, you will need to uninstall it first. This can be done from the Palette Manager in Node-RED, or via
npmon the terminal:bashnpm uninstall @flowfuse/node-red-dashboardInstall FlowFuse Dashboard: Install the forked dashboard into your Node-RED system from inside the
.node-redfolder:bashnpm install <path_to_your_forked_dashboard>
Making Changes
Make Changes: Make any appropriate edits.
- Node-RED Editor: For Node-RED node changes, you'll work inside
/nodes- changes here will require a restart of Node-RED (and refresh of the Node-RED Editor) to see the latest changes.- For convenience you can use
npm run watch:node-redwhich will restart Node-RED after any changes to/nodes - This assumes Node-RED is installed at
~/.node-redand you have@flowfuse/node-red-dashboardinstalled in that folder (as per step 3 above)
- For convenience you can use
- Dashboard/UI: For Dashboard/UI changes, see
/ui- changes here will require a rebuild of the Dashboard's UI, which can be done by runningnpm run build(as per Step 5. in "Clone & Build the Repository").- For convenience you can use
npm run watch:dashboardwhich will auto-rebuild after dashboard UI changes
- For convenience you can use
- The two watch commands are combined into one command under
npm run watch
- Node-RED Editor: For Node-RED node changes, you'll work inside
Refresh Browser: Refresh the dashboard in the browser on
http(s)://your_hostname_or_ip_address:1880/dashboardDevelop: Repeat step 1 to 2 over and over again, until you're satisfied with your results.
Create Branch: Once you're ready to publish your changes, in your cloned repository directory (e.g.
/yourname/development/node-red-dashboard), create a new branch for all the files of your forked dashboard:bashgit checkout -b name_of_your_new_branchAs soon as all your changes work fine, commit your changes:
bashgit commit -a -m "Description of your changes"Push the committed changes to the dashboard fork on your Github account:
bashgit push originIn your forked dashboard repository (on Github), switch to the new branch and create a pull request.
Running Documentation Locally
- Run Docs Dev Server: You can run the documentation locally by running the following command at the root of the
/node-red-dashboarddirectory:bashThis will then run your documentation atnpm run docs:devhttp://localhost:5173/ - Make Changes: Make any appropriate edits to the documentation (
/docs). The documentation will live update, no need to re-build, restart the server or refresh the browser.